
The Less Stress, Less Mess, Smarter Way To Painting A Room
The Less Stress, Less Mess, Smarter Way To Painting A Room
Dec 02, 2023
It might sound easy enough when painting a room.
But…
There are a lot of things that you need to do firstly before getting that painting brush out.
Let’s find out, shall we…
Painting A Room The Right Way
I know it is all too easy to just want to choose the colour of the paint you want to put in your room and just.
Well…
Paint!
Eager to start but there are certain steps you need to go through before the paintbrush can come out and the paint lid lifted.
So let’s go through them in steps.
Brushing up on the best way to paint a room might be easier with a full palette of ideas from the experts.
That said, let’s go through them.
Paint Colour
The first step is paint color selection.
It is a good idea to try a small sample on the wall or hang up a paint color swatch to see how light affects the color at different points in the day.
Some paint manufacturers make it even easier for you.

For example…
Colour Preview Samples let you create your own custom-tint 8-oz. paint sample, enough to paint a 4′ x 6′ area of your home.
You can order the inexpensive samples through a company’s Web site and they will be shipped directly to your home.
Colour Sheen
After deciding on the colour, you may want to select a sheen.
For example:
- a flat/matte sheen helps hide surface imperfections
- low-lustre flat enamel sheen is very washable and perfect for high-traffic areas
- eggshell enamel offers superior scrubability
- satin enamel has a silky warm, pearllike finish, while semigloss is sleek, radiant and scrubbable
Calculate Your Paint
Determine the amount of paint you will need by measuring the height, depth and breadth of the room.
Be sure not to forget to subtract the measurements of the doors and windows.
If you go adding them in, you will end up with too much paint on your hands.
Preparing Your Room
Remove or if you do not want to do that just cover the furniture.
Make sure the furniture is away from the walls so you have room to work.
Remove:
- switch plates
- outlet covers
- tape hinges
- door knobs
- other small items you don’t want painted
Also do not forget the floor…
Cover your floors with a drop cloth or plastic sheeting when painting a room.
Items that should not be painted (such as securely attached window valances and ceiling fans) should be completely covered with plastic sheeting or masking paper.
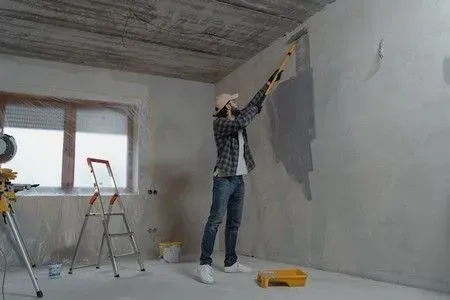
You will also need to repair any holes or dents in the walls as well.
Remove any loose debris from the damaged area by using a100-grit sandpaper or a lightly water-dampened rag.
When using a putty knife.
Apply a thin layer of patching material to any cracked or dented area, feathering the patching material one to two inches away from the repaired area in order to blend the surface evenly.
Following The Process
Do not jump the gun.
Let the plaster dry first.
As this is something you might want to rush thinking it is dry, while all along underneath the plaser is not hard.
See also Calming Paint Colors for Bedrooms: Creating Serene Spaces
The surface of the plaster might be but when you try to sandpaper it.
Your sandpaper gets clogged up with soft plaster.
AND!
You have to o it all again.
Yes…
We can all put our hands up to that even myself.
So Just be patient.
Once dried…
Sand the finished area with 220-grit sandpaper, blending the patched area evenly with the surface. Also, scuff sand those glossy surfaces.
Application Of Paint
Once you get the paint home, stir it thoroughly.
And do use a high-quality, nylon/polyester brush. None of that rubbish where the brush fibres come out into your painting surface.
Ever tried to get the brush strands out of the paint?
I know…
Dip a third of the bristle length into the paint.
Remove the excess paint from the brush by tapping the bristles against the inside of the paint can.
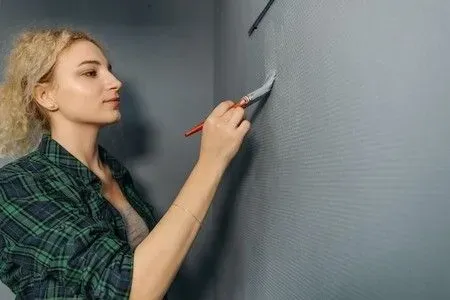
Apply paint to the perimeter edges of the project area with a brush prior to rolling.
Start at the top and brush the paint from the nonpainted area to the previously applied areas.
Reload the brush as necessary to maintain a wet edge, approximately every five inches.
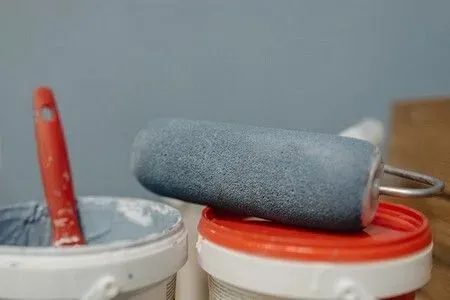
Once the perimeter of the wall is done, pour the paint into a paint tray or a five-gallon bucket.
Dip the roller cover completely into the paint, covering the entire roller cover area.
Remove excess paint by rolling it onto the ribbed section of the paint tray or bucket grid.
Starting in the upper corner of the wall, place the loaded roller cover approximately three to four inches away from the painted perimeter.
Working in a three-by-three-foot area, roll a “W” onto the wall.
Roll back into the previously applied paint to maintain a uniform finish.
Continue the “W” technique three to four inches away from the last section applied.
Work from the top down, until the wall is completely covered.
The Cleanup
Yes…
There has to be one of those…
Remove all of the tape and coverings.
Take drop cloths out of the finished room and shake off dust and debris.
Reattach switch plates and outlet covers and any hardware that was removed.
Vacuum the floor, re-hang pictures and mirrors and put furniture and decorative accessories back where they belong.
Wash brushes, rollers and pans in warm, soapy water.
Work the cleaning solution throughout the brush bristles or roller cover, and rinse twice in clean water.
Allow drying.
Sit Back And Enjoy Your Beautifully Painted Bedroom
Now after you have done all the steps that are needed when painting a room. Mainly meaning your bedroom here.
You can sit back and enjoy.
But do not try to get into the room too quickly if you have used oils.
But not many people do these days when painting a room.
Best to stick to water-based paints when painting a room, or you will not be spending your first night in your bedroom that day.
You can be assured that if you use oil-based paints because of the fumes. or maybe the following night either.