
Keep Your Bedroom Airy and Refreshing with these Must-Have Ceiling Fans
Keep Your Bedroom Airy and Refreshing with these Must-Have Ceiling Fans
Dec 08, 2023
Bedrooms are the perfect place to relax, unwind, and recharge.
However, during summer months or in warm climates, it can be challenging to sleep comfortably due to excess heat and humidity.
A ceiling fan is an excellent solution for maintaining a comfortable temperature in your bedroom while also creating a refreshing breeze that will help you fall asleep faster and stay cool throughout the night.
Here, we’ll explore everything you need to know about choosing and installing the best ceiling fans for your bedroom.
Introduction to Bedroom Ceiling Fans
Ceiling fans come in various sizes, styles, and designs, but they all serve one purpose – to keep your room airy and refreshing.
They work by circulating the air in the room, creating a gentle breeze that helps to lower the temperature and make the space more comfortable.
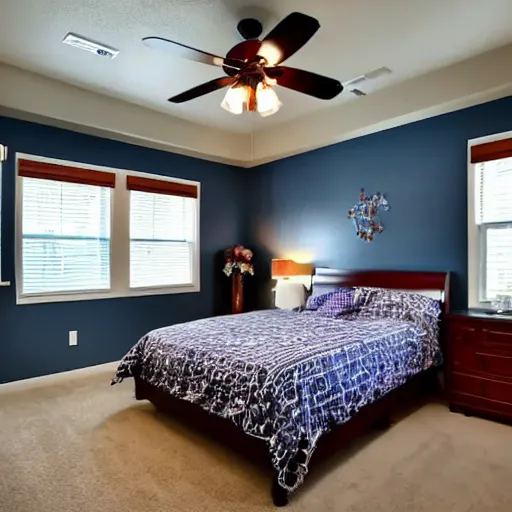
Bedroom ceiling fans are specifically designed to provide optimal airflow and maximum coverage in a typical-sized master bedroom.
These fans are typically larger than other types of ceiling fans and have longer blades to create a more significant air movement.
Types of Bedroom Ceiling Fans
There are several different types of ceiling fans available on the market today.
Some of the most popular options include:
1. Standard Ceiling Fan – This type of fan features a traditional design with a single motor and three or four blades. It provides basic air circulation and is ideal for small to medium-sized rooms.
2. Dual Motor Ceiling Fan – As the name suggests, this type of fan has two motors that allow for separate control over the speed and direction of each set of blades. It provides better airflow and is suitable for large rooms.
3. Remote Controlled Ceiling Fan – With remote-controlled ceiling fans, you can adjust the settings of your fan without leaving your bed. You can turn it on/off, change speeds, and even dim the lights from the comfort of your mattress.
4. LED Ceiling Fan – An energy-efficient option, LED ceiling fans use light-emitting diode (LED) bulbs instead of incandescent ones. They consume less power and last longer than traditional bulbs.
How to Choose the Right Ceiling Fan for Your Bedroom
Choosing the right ceiling fan for your bedroom requires careful consideration of several factors such as size, style, blade length, and airflow.
Here are some tips to guide you through the process:
1. Determine the Size of Your Room – Before purchasing a ceiling fan, measure the dimensions of your bedroom to ensure that you choose a fan that is appropriately sized for the space.
A general rule of thumb is to select a fan with a diameter of at least 50% greater than the width of your room.
2. Consider Blade Length – The length of the blades determines how much air the fan can move.
For a standard bedroom, look for a fan with blades ranging between 36 inches to 50 inches long. Longer blades move more air but require higher clearance from the floor.
3. Check the CFM Rating – CFM stands for Cubic Feet per Minute, which measures the amount of air that a fan can move. Look for a fan with a high CFM rating to ensure adequate airflow in your bedroom.
See also Why Your Bedroom Needs a Ceiling Fan (And How to Pick One That's Perfect
4. Evaluate Energy Efficiency – If you want to save money on electricity bills, opt for an energy-efficient ceiling fan.
Look for models with low power consumption, high airflow efficiency, and durable materials that can withstand daily usage.
Installing and Maintaining Your Bedroom Ceiling Fan
Once you’ve selected the perfect ceiling fan for your bedroom, it’s time to install it correctly.
Installation may seem daunting, but it’s relatively straightforward if you follow these steps:
1. Turn Off Power – Before starting any installation or maintenance tasks, always turn off the power supply to the fan.
2. Remove Old Fixtures – If you’re replacing an existing fixture, remove it carefully to avoid damaging the wiring or electrical box.
3. Attach Brackets – Securely attach the brackets that hold the fan to the ceiling joists using screws or bolts.
4. Connect Wires – Connect the wires from the fan to the power source following the manufacturer’s instructions.
5. Balancing Blades – Ensure that the blades are balanced properly so that they rotate smoothly without wobbling. Adjust the position of the blades until they spin true.
6. Test Operation – Once installed, test the operation of the fan to ensure that it works correctly.
Stylish Designs that Complement Any Bedroom Decor
Apart from providing functional benefits, ceiling fans can also add a decorative touch to your bedroom.
There are many stylish designs available on the market today that complement any bedroom décor.
From classic wooden blades to modern metallic finishes, there’s something for everyone.
To find the perfect match for your bedroom, consider the overall color scheme, furniture pieces, and accessories in the space.
FAQs about Bedroom Ceiling Fans
Here are answers to some frequently asked questions about bedroom ceiling fans:
1. Do I Need a Permit to Install a Ceiling Fan? – Generally speaking, you don’t need a permit to install a ceiling fan unless you’re doing major renovations to your home.
However, check with your local building code authority to confirm whether permits are required in your area.
2. How Often Should I Clean My Ceiling Fan? – Regular cleaning of your ceiling fan ensures that it operates efficiently and reduces the risk of dust accumulation and debris buildup.
We recommend cleaning your fan every six months or whenever you notice visible dirt or grime. Use a soft cloth or brush to gently wipe down the blades and housing unit.
3. Can I Replace my Existing Light Fixture with a Ceiling Fan? – Yes, you can replace your current light fixture with a ceiling fan as long as the new fan uses the same mounting system as the old one.
Consult the manufacturer’s instructions before proceeding with the replacement.